How to create document set in SharePoint 2010
Document Set is used to manage set of documents as a single object
It is a new feature introduced in Share Point 2010.
Advantages of using Document Set in Share Point 2010.
- Work Flow can be associated to a whole document set.
- We can upload project related documents in Document set.
- We can maintain the version of all related documents using Document set.
- We can manage permissions easily.
- We can able to set customizable welcome page for Document Set.
- We can download all the zip files easily by using Document Set.
- There is no limit that no of documents exit in Document set.
- Folders also used to manage set of documents as a single object.
- But for folders we can't start work flow.
- Customizable welcome page for all document sets.
Now I will Explain How to Create Document Set.
Navigate to your share point Site Actions->Site Settings.
Navigate to Site Collection Administration ->Site collection features
By default I will not active, click on that feature to Activate
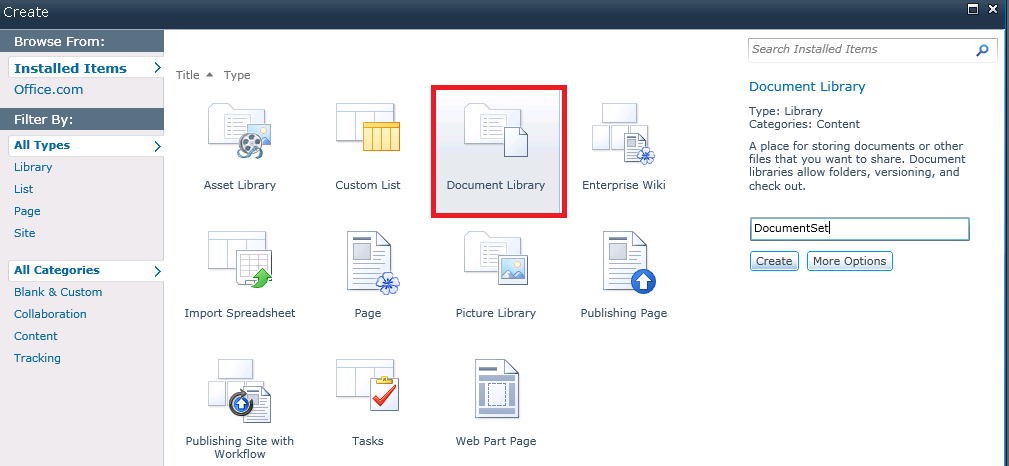
Now I am creating a document library I give name as Document Set.

Click on that Created Document Library ->Navigate to Library Settings.
Navigate to General settings->Click on Advanced Settings
Allow Management of content types to Yes.
Click OK.
In Library settings page we can able to see Content Types.
Click on Add from existing site content types.
In Available site Content Types->Select Document Set->Add
Click OK.
Now we want to give name for Document set.
Navigate to Library settings->Content Types->Click on Document Set
Click on Name and Description tab->Enter Name ->Click OK
Go to New Document->
Now we are able to see the created document set with name Share Point Project
Click on that Share point Project ,I am give name as Project Documents and Click Ok.
Now are able to seen the created document set
Now are able to seen the created document set
Click on that Project Documents.
Click on documents tab->Click on Upload Document.
Now we are able to see my uploaded documents.


No comments:
Post a Comment